

Iron-on labels are a simple and reliable way to keep clothing clearly marked. Whether it’s for nursery, school, after-school clubs or a care home, they help make sure garments always find their way back to the right person.
But like many practical things, the result depends on how they’re applied. If the label isn’t attached properly, it may start to peel after a few washes.
In this guide, you’ll learn how to apply iron-on labels step by step so they stay securely in place!
Why Iron-On Labels Are a Reliable Solution for Clothing
When clothing goes through the wash again and again, labels need to stay firmly in place. Iron-on labels are designed exactly for this purpose. Applied with heat, they bond directly with the fabric and remain securely attached even after many wash cycles and tumble drying.
They are especially useful for garments that don’t have a smooth care label where a stick-on label could be applied. Instead of relying on a separate surface, iron-on labels attach directly to the fabric itself.
Compared to handwritten names with a pen, which can fade or bleed over time, iron-on labels remain clearly readable. Once applied correctly, they sit neatly on the inside of the garment and continue to hold through everyday wear and washing.
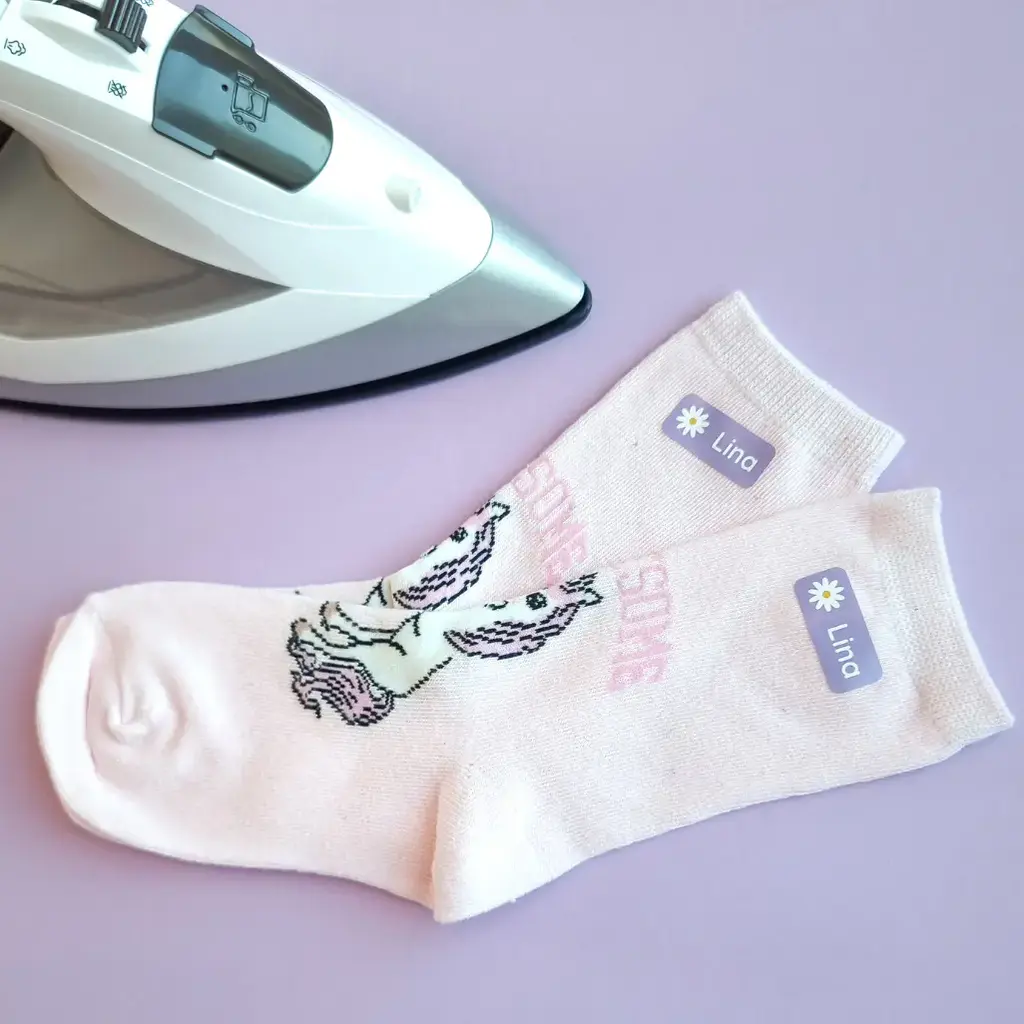
What You Need Before Applying Iron-On Labels
Before you begin, it helps to prepare a few simple things. You’ll need:
- An iron
- A firm surface, such as an ironing board or sturdy table
- The garment, clean and completely dry
- The iron-on label
- A piece of parchment paper to protect the label while ironing
Now that everything is prepared, let’s get started!
Step-by-Step Guide: How to Apply Iron-On Labels
First, check whether the fabric is suitable for iron-on labels. They work best on cotton, polyester and blended fabrics. For delicate materials, check whether the garment can tolerate heat before applying the label. If the fabric cannot handle ironing, consider using our stick-on name labels instead, which can be applied to the smooth care label inside the garment.
Now, heat the iron. Set your iron to a medium to high temperature, around 160–180°C, depending on the manufacturer’s guidelines. Make sure the steam function is turned off.
Peel the iron-on label from the backing paper and position it on a smooth, flat area of the garment.
Place a piece of parchment paper over the label to protect it during ironing.
Press the hot iron firmly onto the label for 10–15 seconds. Because heat settings vary between irons, you may repeat this step once or twice if needed to ensure a strong bond.
Allow the label to cool for a few minutes before moving or wearing the garment. The label should be fully bonded with no loose edges or corners. You may notice the texture of the fabric slightly visible through the label. If any part lifts, repeat the ironing until the label is securely attached.

Common Mistakes to Avoid When Applying Iron-On Labels
When applying iron-on labels, small mistakes can prevent the label from bonding properly with the fabric. Here are a few common pitfalls and how to avoid them:
- The iron isn’t hot enough: If the iron is too cool, the adhesive won’t bond permanently with the fabric. Make sure your iron reaches a medium to high heat setting around 160–180°C. It’s better to apply firm pressure for a few extra seconds than to quickly pass over the label with insufficient heat.
- The steam function is turned on: This might seem harmless, but moisture can prevent the label from bonding properly. Always turn off the steam function and apply the label using dry heat.
- Placing the label on the wrong area of the garment: Avoid thick seams or stretchy areas of fabric. These parts of a garment move more and can cause the label to loosen over time. Instead, choose a smooth, flat area, such as the inside seam or the back of the neckline.
- Washing the garment too soon: After applying the label, give the adhesive time to set. Wait at least 24 hours before washing the garment to ensure the label bonds fully with the fabric.
Ready to Label Your Clothes?
Applying iron-on labels is quick and straightforward once you know the right steps. With the proper temperature, a smooth surface, and a little firm pressure, your labels will stay securely attached through everyday wear and many wash cycles.
If you’re ready to get started, you can explore our iron-on labels and choose from a wide range of colours and designs. Many families also combine them with stick-on name labels to easily mark items with care label, containers or everyday belongings.


