
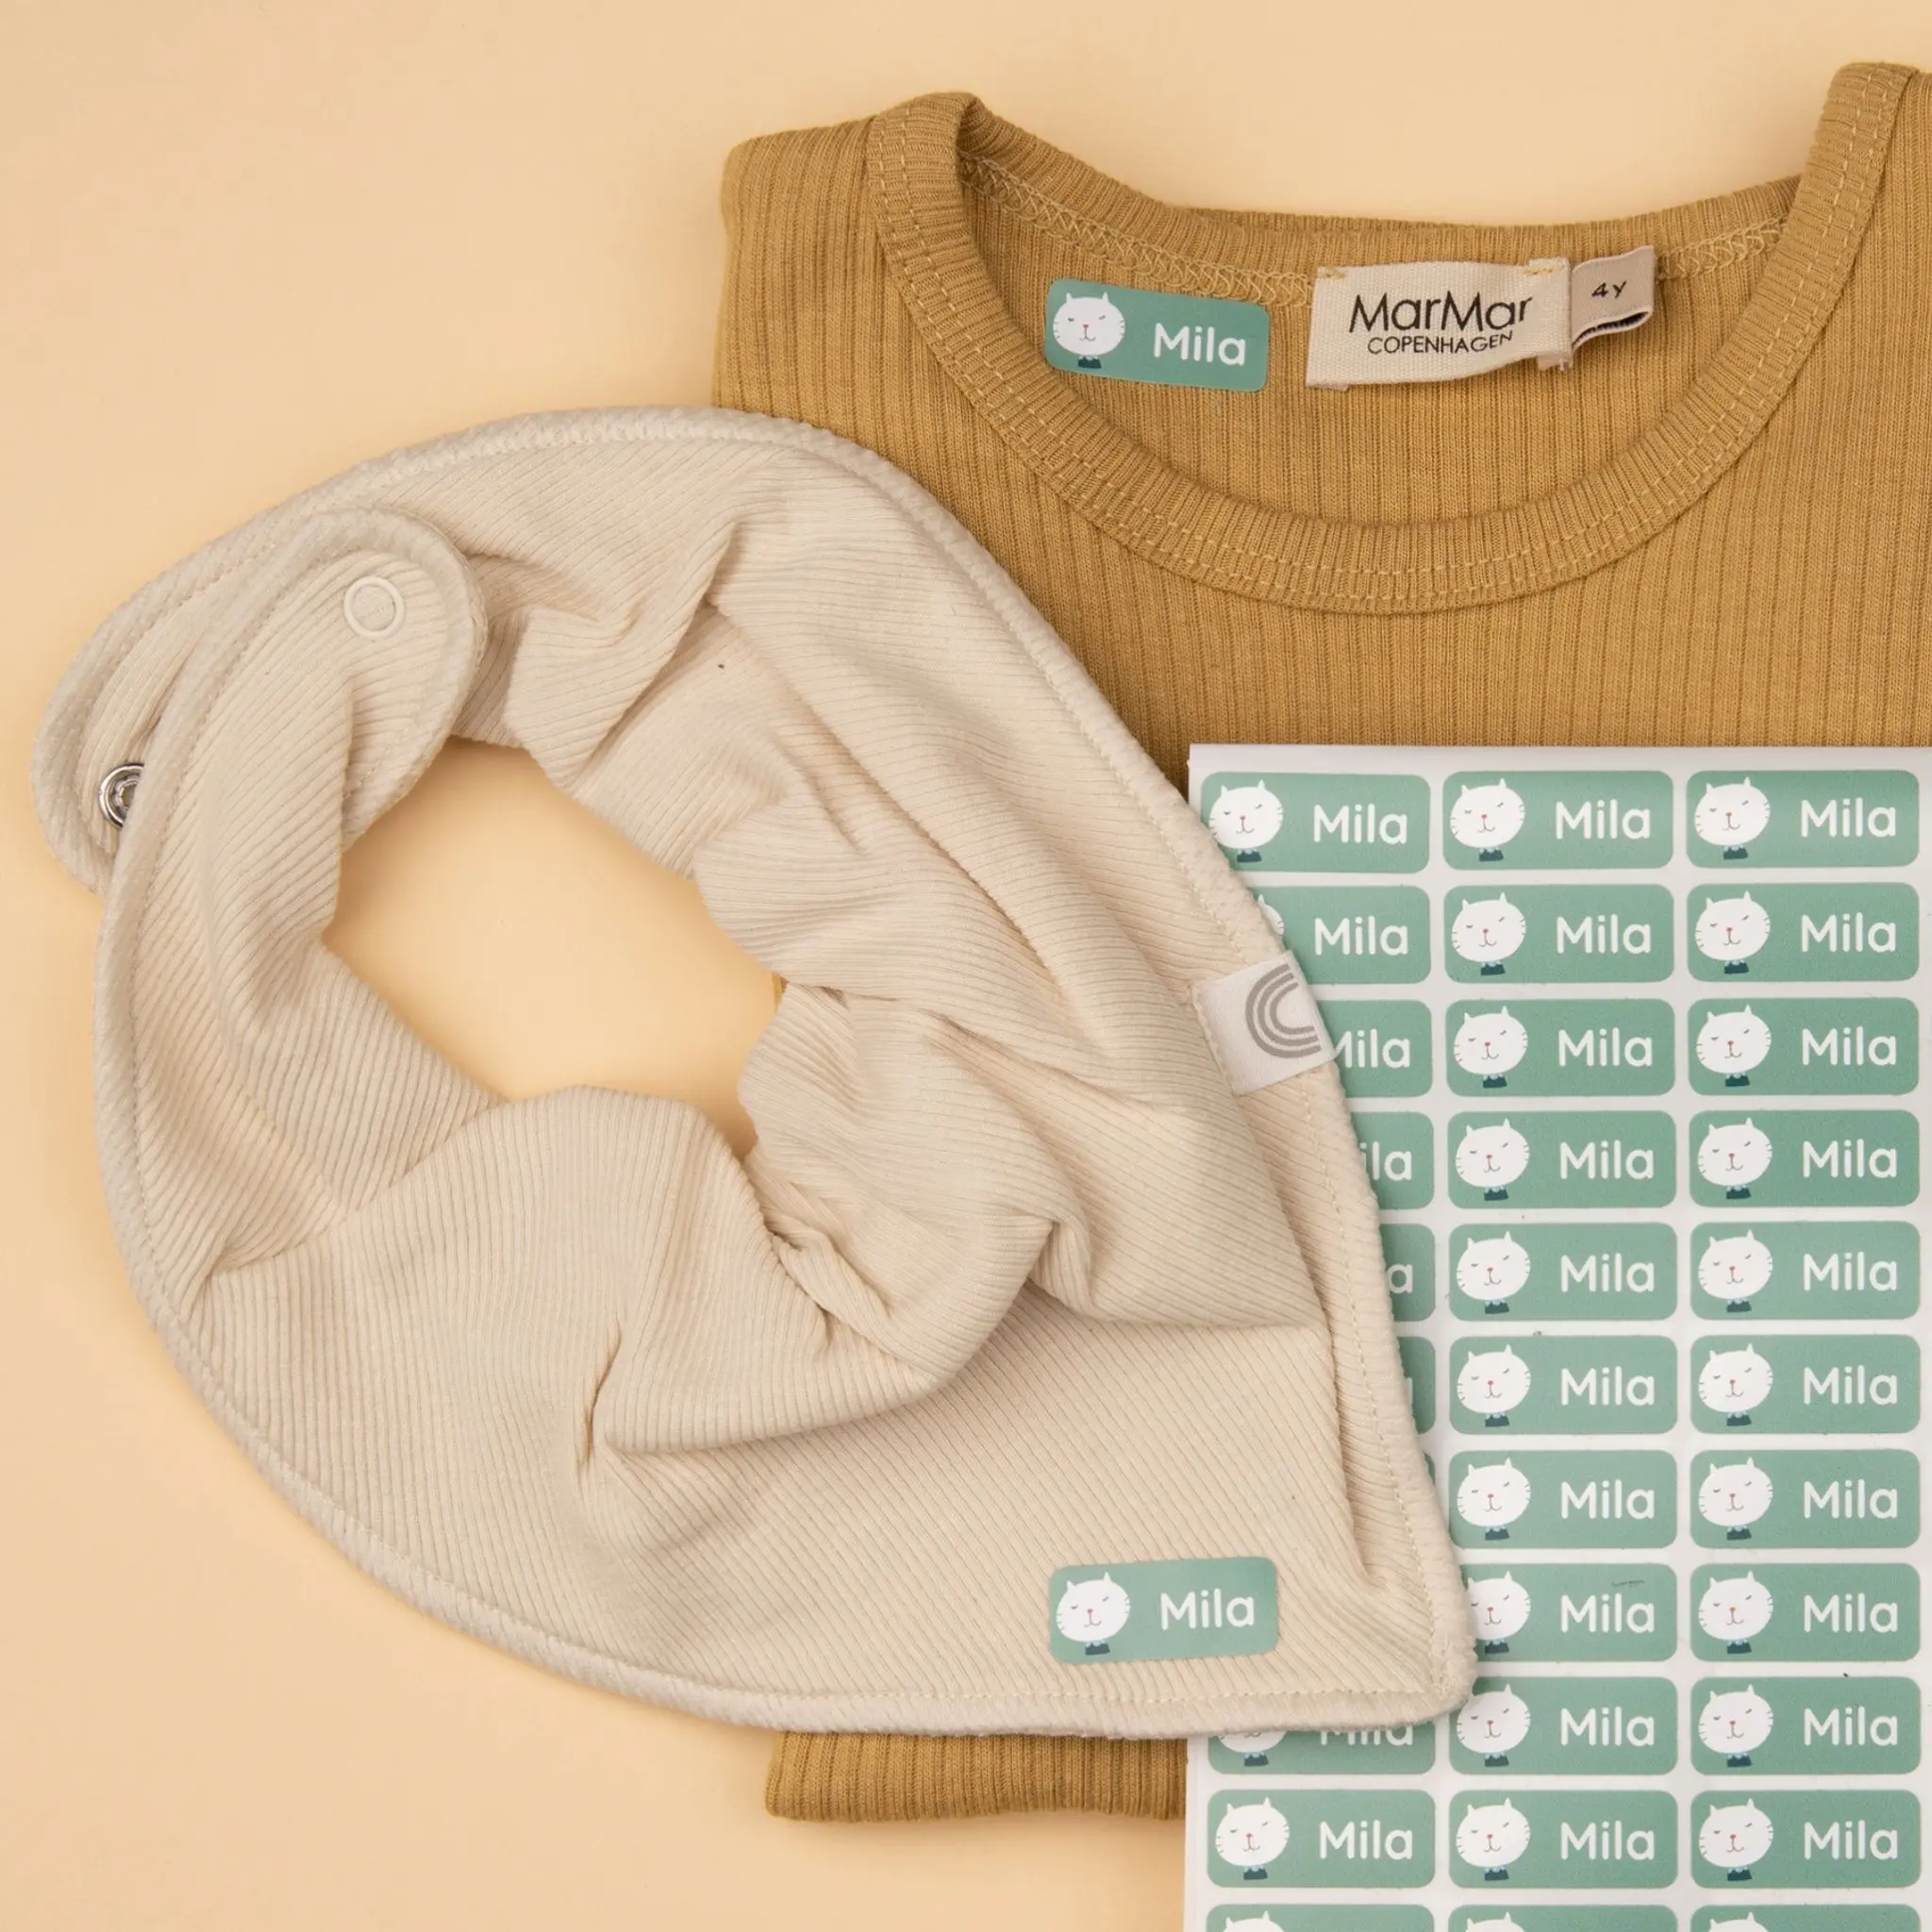
Iron-on labels are designed to stay firmly in place, which is exactly what makes removal a bit tricky. In some cases, they can be loosened with heat or household methods, but the result depends on the fabric and how the label was applied. Sometimes, small traces may remain.
In this guide, we’ll walk you through practical ways to remove iron-on labels – based on real experience. While removal can work well, especially on smooth fabrics like cotton, it doesn’t always come off perfectly. That’s why we’ll also share when it makes sense to try, and when covering the label might be the better option.
Can Iron-On Labels Really Be Removed?
Iron-on labels are designed to stay put, and that’s exactly what makes them so useful in everyday life. They’re made to withstand frequent washing, tumble drying and daily wear without shifting or peeling off. This strong bond, however, is also what can make removal a little challenging.
Whether a label can be removed depends on several factors, including the type of fabric, the heat used during application and how firmly the adhesive has fused with the fibres. On smooth materials like cotton or linen, removal can often work quite well under the right conditions. On more delicate or stretchy fabrics, such as jersey or blends, it tends to be more difficult.
It’s also important to set realistic expectations. While some labels can be removed cleanly, this isn’t always the case. In certain situations, small traces of adhesive may remain, or the fabric may show slight changes in texture.
If you decide to remove an iron-on label, a bit of patience goes a long way. Taking your time and testing your method on a less visible area first can help you achieve the best possible result. Let’s take a look at the most effective methods you can try!
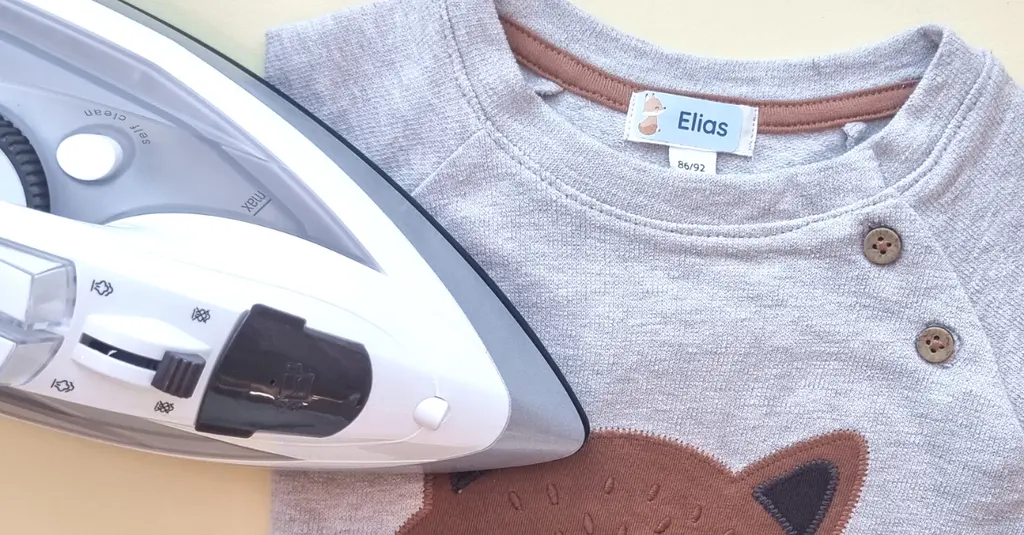
Our Best Tips and Tricks for Removing Iron-On Labels
Removing iron-on labels isn’t always straightforward, but with the right approach, it can work surprisingly well. Below, you’ll find the most effective methods, from simple heat techniques to additional options that can help loosen the adhesive.
Removing Iron-On Labels with Heat
Heat is one of the most effective ways to remove iron-on labels, as it softens the adhesive that bonds the label to the fabric. This method works best on materials that can tolerate higher temperatures and aren’t too delicate.
Here’s how to do it:
- Place a thin cloth over the label
A cotton cloth or even a coffee filter works well. This helps protect the fabric and distribute the heat evenly. - Apply heat with an iron or hairdryer
Set your iron to a medium temperature and turn off the steam. Press it onto the covered label for several seconds. Alternatively, use a hairdryer to warm the adhesive with hot air. - Peel the label while it’s still warm
Carefully lift one corner using tweezers and slowly peel it away, or ease it up gently with a blunt kitchen knife. If it doesn’t come off easily, reheat and try again. - Remove any remaining adhesive
If there’s still some residue, gently rub the area with a soft cloth and a small amount of oil or rubbing alcohol. Wipe clean with a damp cloth afterwards.
If you’re planning to apply a new label and want to make sure it stays in place, you can find more tips in our guide on how to apply iron-on labels properly.
Using Household Methods to Loosen Adhesive
If you prefer a gentler approach, household items can help soften the adhesive or loosen residue. Always test on a hidden area first.
- Cooking oil
Oils like sunflower or olive oil can soften the glue. Apply with a cotton pad, leave it for 10–15 minutes, then gently lift the label. - Vinegar or lemon juice
Works best on cotton and other natural fabrics. Let it sit briefly before attempting to remove the label. - Rubbing alcohol
Helpful for stubborn residue, particularly on more durable fabrics. Use with care, as it may affect colours or synthetic materials.
Afterwards, wash the garment to remove any remaining residue. Household methods aren’t guaranteed, but they can be a helpful, gentle first option.
Using Commercial Adhesive Removers
If household methods aren’t enough, a commercial adhesive remover can help with more stubborn labels or residue.
These products come as sprays, liquids or gels. Make sure to choose one that is safe for fabrics, as some are designed for glass or plastic and may damage clothing.
- Apply the remover carefully
Use a soft cloth or cotton pad to apply it to the label or affected area. Let it sit briefly, then gently wipe or peel. - Follow the instructions and test first
Always check the product guidelines and test on a hidden area to avoid damage.
This method isn’t suitable for every fabric, but it can be effective on more durable materials.

When to Remove, and When to Cover Instead
Sometimes, an iron-on label is so firmly attached that removing it turns into more of a patience test than a quick fix. In those moments, it’s absolutely fine to choose an easier option, like simply covering the label instead.
This works especially well for delicate fabrics or items that have been labelled for a long time. Adding a new label on top can often be the quickest way to give the item a fresh start!
If you’re labelling with the future in mind, a little planning can really help you out. Placing iron-on labels in less visible areas can make hand-me-downs much easier later. And for items that may need updating more often, stick-on labels can offer a bit more flexibility.
Even when removing an iron-on label doesn’t work out perfectly, there’s almost always a good solution, whether that’s gently easing it off or finding a creative way to cover it up.
We hope these tips help, and wish you the best of luck! Sometimes all it takes is a little patience to get a great result. 😊


